In the previous blog post, I covered the preliminary assembly and rough vacuum testing of the new high vacuum pumping assembly. The roughing pump still checked out at its calibration baseline of 13 millitorr, with the assembly reaching an ultimate pressure of 23 millitorr. Based on the Edwards EO4 diffusion pump manual, the recommended roughing baseline specs should meet the following:
- Single stage pump capable of at least 0.1 Torr
- Throughput of at least 4.24 CFM
The current roughing up I am using is a Yellow Jacket SuperEvac 93560, which is a dual stage rotary vane pump, tested down to an ultimate pressure of 0.013 Torr and is rated for 6 CFM. With the roughing pump performance verified, it was time to prep the diffusion pump for final assembly.
The diffusion pump is shipped with a thin coating of DC-704 oil on the inside to protect the inner surfaces. This pump happens to be brand new, and since I am upgrading to 705 oil, I needed to disassemble and clean the inside for filling with the new oil. Disassembly of the pump ended up being incredibly easy and straightforward, and was a great learning experience in case I ever needed to service the pump.
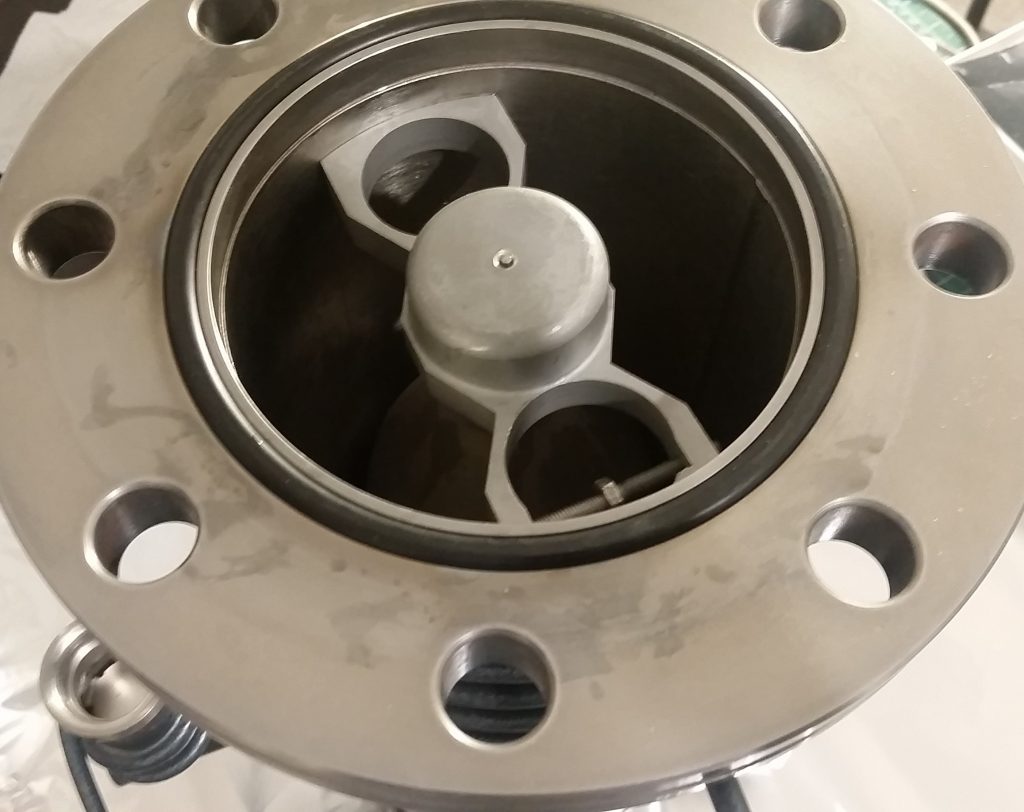
The first step was to remove the internal jet assembly. At the top of the stack is a cold cap that also acts as a retainer for keeping the stack securely in place. A simple bolt is loosened on the inside, and the cold cap is carefully pulled out. This part was the only challenging part, since the fit is extremely tight to ensure good thermal transfer between the wall and cold cap. With the cold cap removed, the upper jet assembly could be pulled right off.

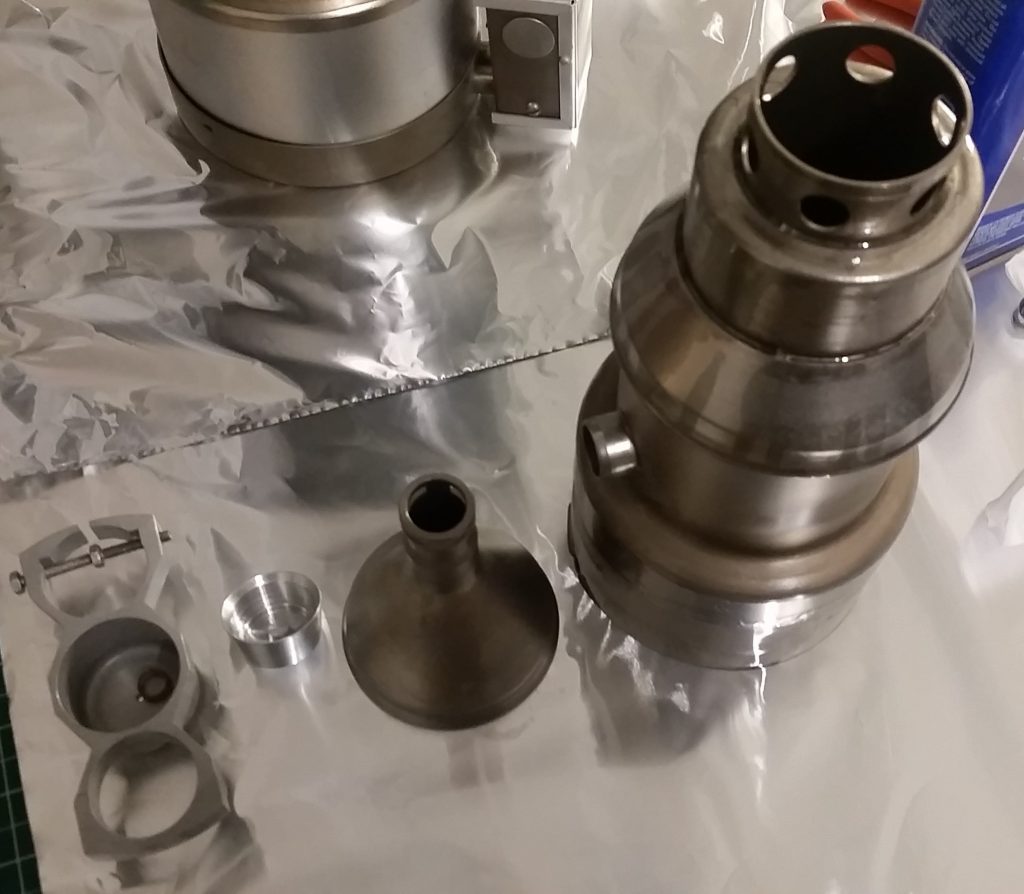
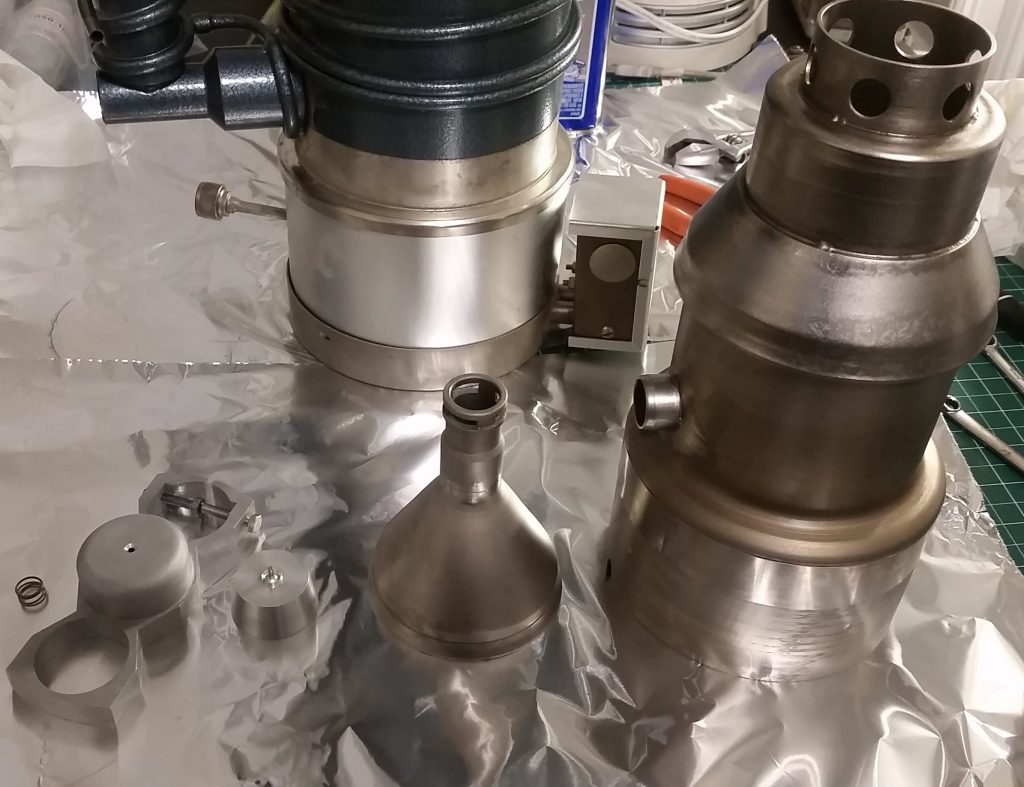
Next, the rest of the jet assembly was carefully removed from the body. It turns out that for this particular model, the lower stages are all welded together as a single component, making disassembly extremely easy. All in all, there were only a few pieces for the entire assembly: the cold cap retainer, retainer spring, cold cap, upper jet, and lower jet assemblies.
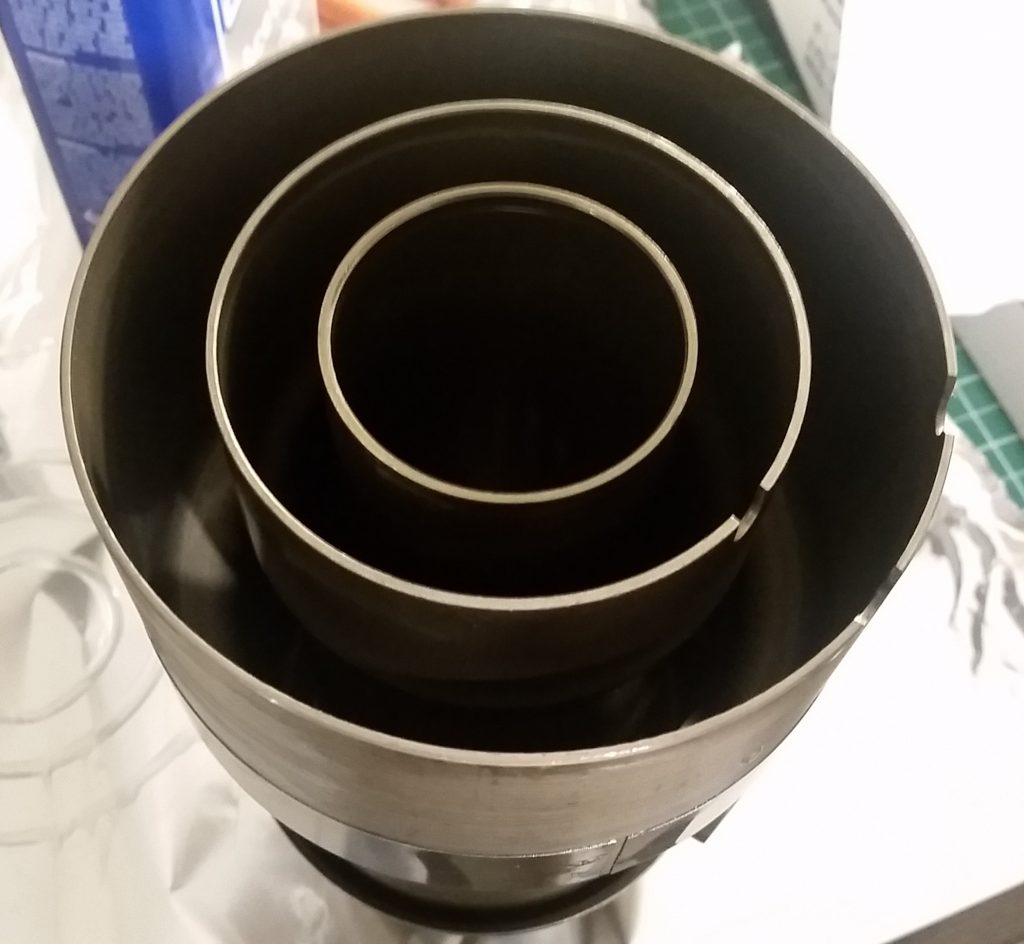
With the pump disassembled, the actual cleaning could begin. For this phase, I used acetone to first remove the oil residue off all of the internal components and inside the pump. Before cleaning anything with the acetone however, I made sure to first remove the o-ring from the flange o-ring groove, which could be very easily damaged from the acetone. The jet stack was fairly easy to clean. Inside the pump took a bit more effort since the oil had pooled up a bit at the bottom, and needed to be thoroughly removed. Kimwipes were used for the cleaning process. After everything was thoroughly cleaned with the acetone, I went back and re-cleaned everything with 99.99% anhydrous isopropyl alcohol, to help remove any residue left behind by the acetone. After the alcohol wash, I dried the inside and and jet stack with a hair dryer to evaporate any remaining alcohol from the surface. The stack could then be reassembled in reverse order from how it was taken apart. At the bottom of the main jet assembly is a small notch, which indexes into a bump at the bottom of the boiler, aligning the stack in the proper orientation. Again, assembly was very easy, with the cold-cap retainer being the most tricky part, aligning a small pin at the top of the cap through a hole in the retainer to keep the assembly aligned. With the retainer bolt tightened, cleaning was complete!

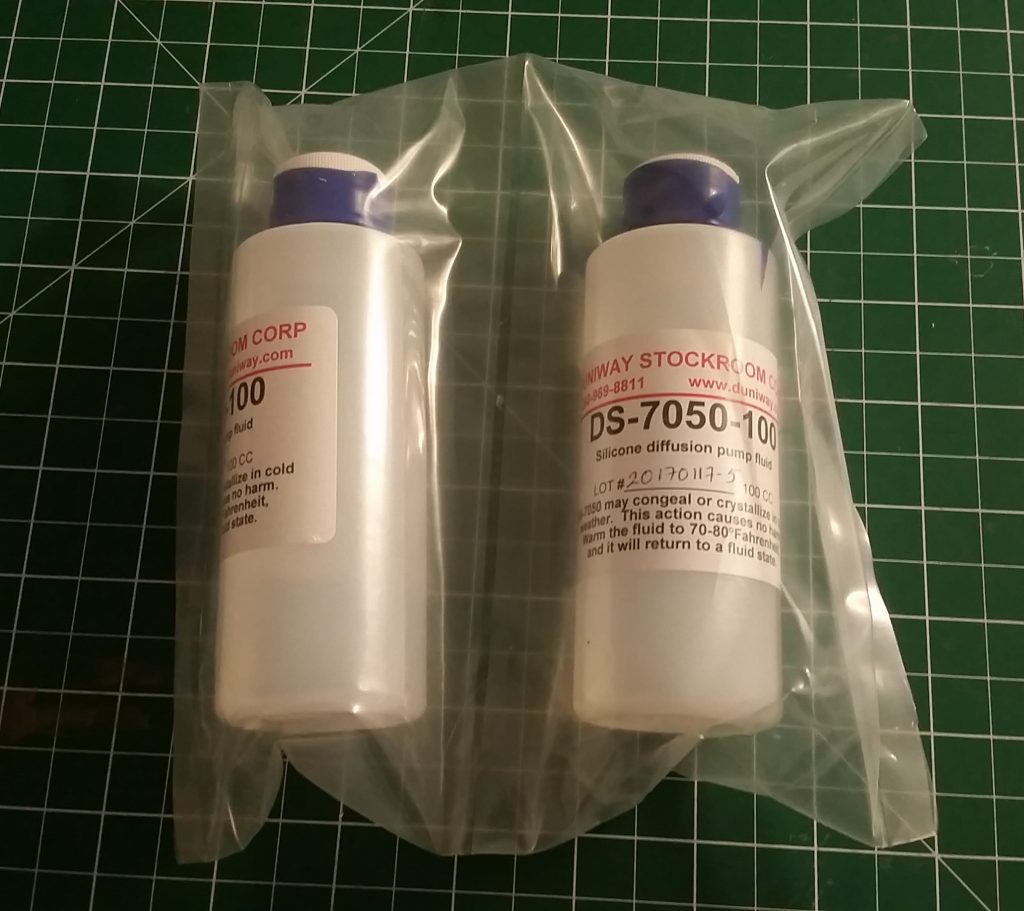
With cleaning complete, and the pump reassembled, the moment I had been waiting for was finally here – filling the pump with fresh 705 oil, and completing the final assembly of the subsystem. The 705 oil was purchased from Duniway Stockroom. At $40.00 per 100 mL, this oil is quite expensive, but was one of the better prices I found on the oil from major distributors. Since my pump requires a fill of 175 mL, I needed two bottles. I found out later that there is an incredibly cheap supplier for diffusion pump oils, Enparticles Diffusion Pump Oil that sells a 473 mL bottle for $75.00! That’s almost 2.5 times as much oil for $5 less! I will certainly be exploring this option for future diffusion pump oil purchases.
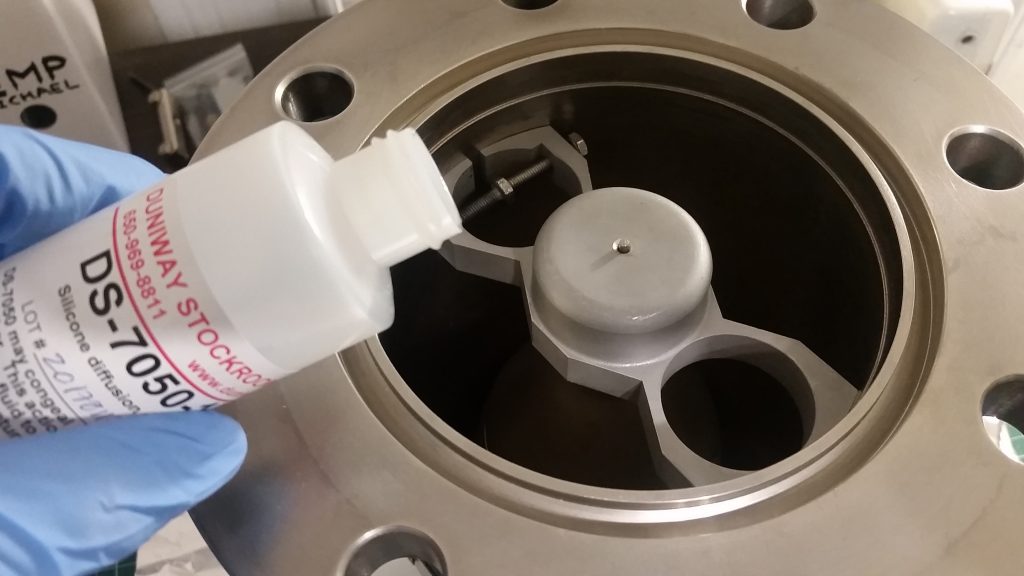
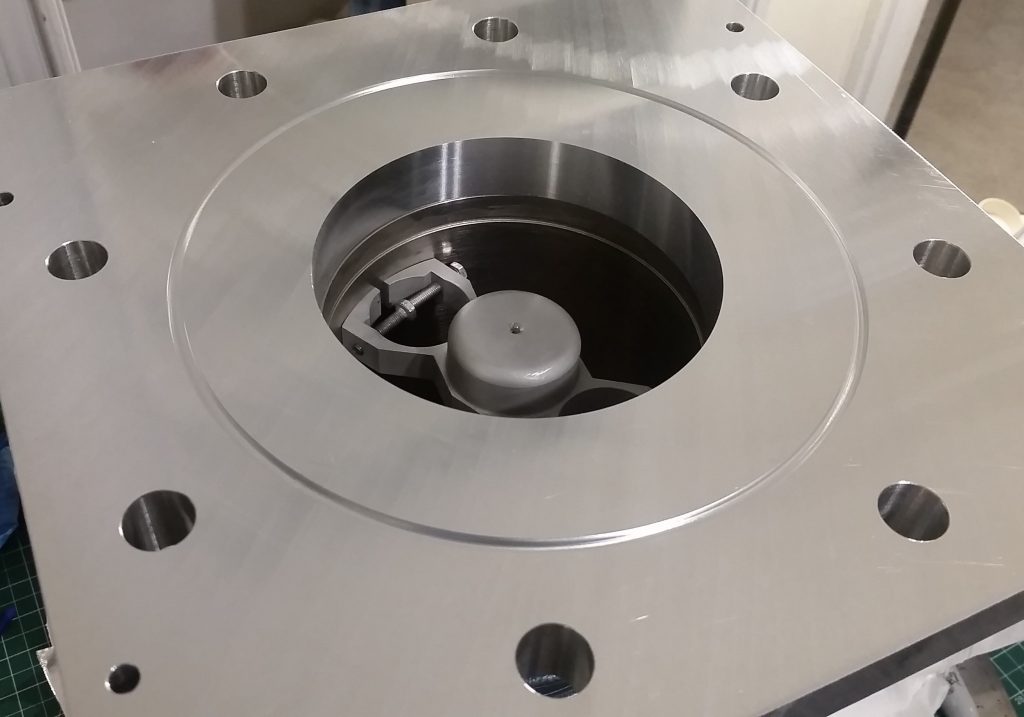
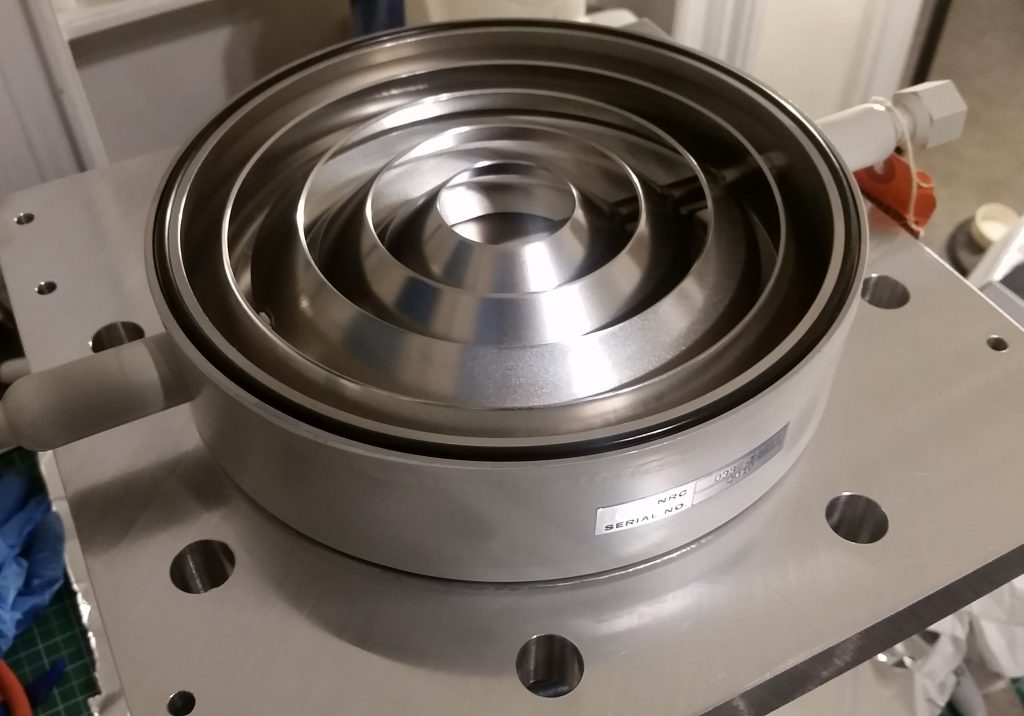
With the oil carefully poured into the pump through the inlet, the final assembly could begin. The o-ring groove was cleaned, and the o-ring reinstalled. The first adapter plates was mounted, and bolted on to maximum tightness to fully compress the o-ring. The next o-ring was installed on this plate in the groove, and the 8″ water cooled baffle was carefully aligned on the o-ring. With the baffle in place, the next o-ring was mounted into the baffle groove, and the final adapter plate was aligned on top. 1/4″ alignment holes where used to initially align the plates, and eight 5/8-13 bolts were used to tightly clamp the two plates together, sandwiching the sealing o-rings, and locking the baffle in place.
With the high vacuum pumping assembly and the roughing assembly complete, the final preparations for the 8020 Integrated Test Stand can begin. This includes installing the remaining 8020 table supports, and wiring all of the chiller electronics. With table reinforcements and the chiller system, the last step will be to mount the pumping stack to the table. After that, I can finally begin high vacuum testing, then from there we are literally within arms reach of the first tests of the open source intense particle beam system (EXEDA) and micro propulsion test chamber!